In this article, you’ll learn how to set up your account on the networking platform for the first time.
To access the event platform for the first time, you'll need to set up a password by "claiming" your account using a Badge ID or Registration ID (depends on how it's named for the event platform you're using). This ID is typically provided by the event organizer and can also be found in the welcome email from the event platform.
Please note that some event organizers may use the Badge ID (often used for event entry) or a unique Registration ID for login. To confirm which one to use, refer to the welcome email you received from the networking app.
Table of Contents
- Steps to Claim Your Account and Set Up a Password
- Access the Welcome Email
- Get Started with Networking
- Onboarding Process
- Contact Sharing
- Exports
- FAQs
Steps to claim your account and set up a password:
To access the platform for the first time, you need to claim your account by setting a password using either a Badge ID or Registration ID, depending on the setup for your specific event. This ID is typically included in your welcome email sent by the event organizer.
How to claim your account:
-
Access your welcome email.
-
Look for a message from the event organizer or networking platform.
-
Locate your Badge ID or Registration ID—this may also be referred to as a temporary login code.
-
-
Go to the event platform login page.
-
Follow these steps:
-
Click Login
-
Enter the email address used during registration
-
Input your Badge ID or Registration ID

-
Create a new password and click Create Account

-
1. Access the Welcome Email
To begin, look for a welcome email from the networking platform or event organizer. This email contains your login details, including the temporary Registration ID (Badge ID), which will be used for both the web and mobile app versions of the platform.
You can now log in using your email and the password you just created—on both the web and mobile versions of the platform.
Troubleshooting login issues
If you're experiencing difficulties logging in, try the following:
-
Wait a bit longer: It may take up to an hour after registering for your information to sync with the platform.
-
Check your email address: Make sure you're using the same email address used during registration—this is typically your work email.
-
Still not working?
-
Confirm you’ve received the welcome email and that the platform is open to participants.
-
If you're onsite at the event, visit the support desk for in-person help.
-
Otherwise, contact the event organizer with your full name and registration email.
-
Onboarding Process
The onboarding process may vary slightly depending on the event platform setup and your participant type (also referred to as the "ticket type" in the registration system).
Once you log in for the first time, you'll see a pop-up screen prompting you to complete key profile fields—this is known as the onboarding process (onboarding flow).
Note: Some fields may already be pre-filled if your information was passed through from an external registration system.
Every event is configured differently, so be sure to follow the on-screen instructions specific to your event.
You can update your profile information:
-
During onboarding: Fill in your details as prompted after logging in.
-
After onboarding: Navigate to "Edit Profile" at any time to make updates.
Keeping your profile up to date increases your visibility to other participants and helps the platform deliver more relevant recommendations based on your interests and objectives.
Example: Specify company size
- Click on a field to begin.
- Select the appropriate value by either clicking directly on it or using the search bar for more specific options.
- Once finished, press Update on the pop-up screen.
-1.gif?width=600&height=310&name=ezgif.com-video-to-gif-converter%20(3)-1.gif)
Note: You can always update or modify custom field information later via your Edit profile page.
Contact Sharing
Your contact details may already be pre-populated. If not, you can edit them later via the My Profile section.
Note: You won’t be able to edit your email or phone number from this screen, but you can make those changes in the My Profile section after onboarding. 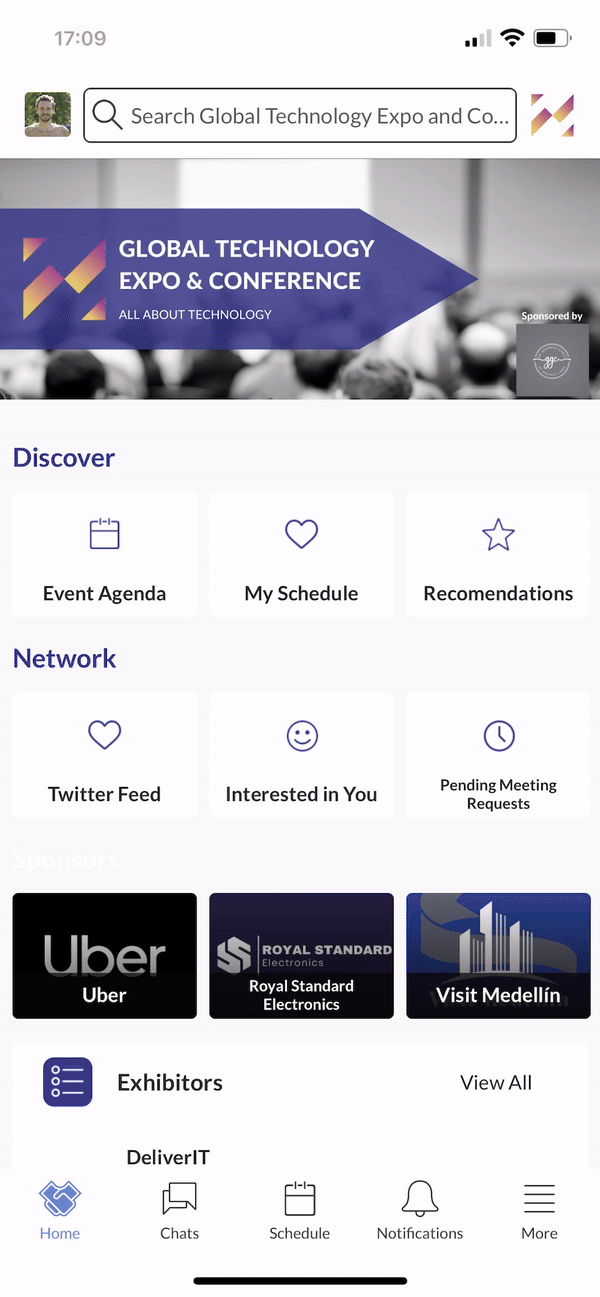
In the Visibility settings, you can decide who can view and export your contact details (email and phone number). Depending on the event setup, you may have the following options:
- Private: Your contact details are hidden from everyone on the platform.
- Connections Only: Only your connections can see your contact details (this is the default option in the below example).
- Public: Your contact details are visible to everyone on the platform.
In rare cases, contact visibility settings may not be enabled at all.

You’ve successfully completed the onboarding steps. Click 'Start Networking' to begin using the platform.
Exports
As you start using the event platform and connecting with other event participants, the event organizer may have enabled export options. Depending on your access, there are two places where you can find these exports if they are available:
- Individual Level: Go to My Profile > Exports. For more information, refer to the support article What Exports Are Available and How Can I Export My Meetings and Connections Data?.
- With Access to 'My Team': Check the support article What Exports Are Available Under My Team? for details on exporting data at the team level.
FAQs
Q: What if I didn’t receive my welcome email?
- A: Check your spam or junk folder first. If you still can’t find it, contact your event organizer or the support team to resend the email.
Q: Can I use the same email and password for both the web and mobile versions?
- A: Yes, once your account is set up, you can use the same email and password to log in on both the web and mobile versions of Grip.
Q: I forgot my password. How do I reset it?
- A: On the login page, if your email isn't recognised press the "Email me a password reset link" button. Follow the instructions sent to your registered email to reset your password.
Q: I keep getting the message “Something unexpected happened, please try again” when trying to log in. What should I do?
- A: This error is usually related to a VPN, firewall, or network issue. It could also be due to poor Wi-Fi or mobile data at the venue. Try disabling your VPN or switching to a more stable network.
Q: My email address is not showing as registered, or I receive an error when trying to log in. What should I do?
A:
If you're unable to log in or your email is not recognized, try the following:
-
Wait a little longer: If you recently registered, it may take up to an hour for your registration to be processed. Try again after some time.
-
Check the email address: Make sure you're using the same email address you used to register for the event. This is typically your work email address.
-
Still not working?
-
Contact the event organizer's support team for assistance.
-
If you're already at the event, visit the on-site support desk for help retrieving your login credentials or confirming your registration.
-